The key to breaking up unpleasant visual repetition caused by tiling is, obviously, to introduce variations between adjacent tiles. In the last post I talked about breaking up tiles by adding decorative pieces to tie together varying groups. This time lets looks at how materials can provide another even more powerful way to break up repetition.
Mix Materials
Unreal provides a really powerful system for defining materials. Much like BluePrint, materials are constructed as a node graph of input data sources and operations that feed into the final output. A mix material takes several inputs for the same fundamental material properties (specularity, diffuse colours, metallic value etc) and merges between them based on some function. The way that inputs are mixed can really be anything, but since I want to introduce natural looking variations I am going to use a noise map. So the final output of a material given input elements A and B becomes (though obviously this is expressed using nodes in a material graph).
out = A[u][v] * noise[u][v] + B[u][v] * (1.0 - noise[u][v]);
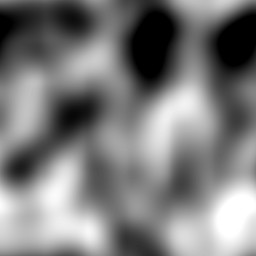
To make things clearer, here is the noise map.

Imagine where the image is black we have 100% contribution from input B and where it is white we have 100% from input A. As values vary between white and black so too does the contribution from each input that goes into the final output.
World Aligned UVs
OK, so we can blend between two sets of inputs, that’s handy but only part of the solution. The geometry of the level is placed using a procedurally generated layout and built from many static mesh instances to maintain efficiency. Since static mesh instances all have to have the same material (or else they couldn’t be batched in a single draw call) each tile will still present the same result from the blend material, hardly what we wanted.
The solution is to add a second set of world aligned UV coordinates. This means that unlike the primary UVs that were setup in a modelling program to stretch across each mesh instance, world aligned UV are built based on the absolute world position of the mesh itself. Since each of our mesh instances exist at a different world location they get differing values for this second set of UVs. Now we are getting somewhere! By using this second set of UVs, multiplied by some scaling factor, as input for the noise map we can ensure that each tile uses a different section of the map as input to its blend routine.
This clever trick lets us add in variety without having to use several materials (and thus more draw calls). Even better, meshes that are adjacent to each other in world space will select adjacent sections from the noise map so no texture seams or artefacts will be introduced. Finally, by stretching the blending noise map but allowing the inputs that we blend between to use the primary UVs we avoid problems of low resolution caused by textures stretched over too large an area.
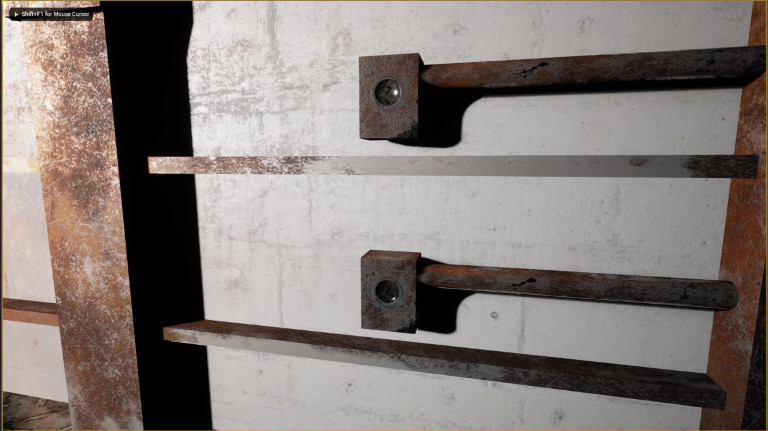
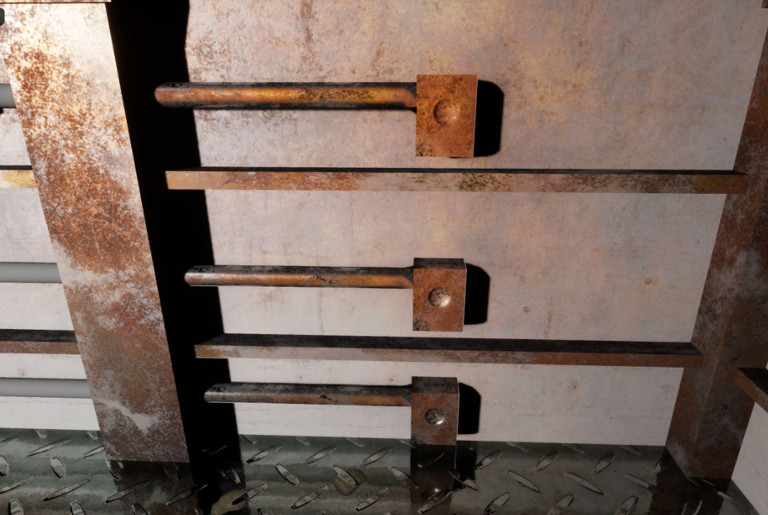
So, how’s it look? The following shots show instances of the same mesh (a decoration we introduced last time) using the same material. The only difference is its location in the world.


By using the same noise map and scaling values in several materials, we can also create naturally consistent effects across several meshes even when they use differing materials and input values, note the orange stain on the concrete in the second shot is consistent with the grime on the pipes.
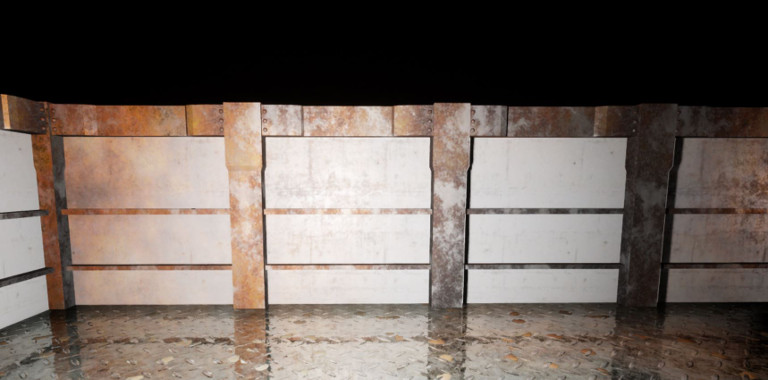
Of course, the goal here was to break up tiling, so here is an undecorated wall built from identical tiles.

This should do the job nicely.
